Please bear in mind, I am always open to your ideas. It's the feedback from my readers that lets me know what I need to do for you! So feel free to let me know what you are thinking or what you'd like to see. Thanks!
So, let's get down to business!
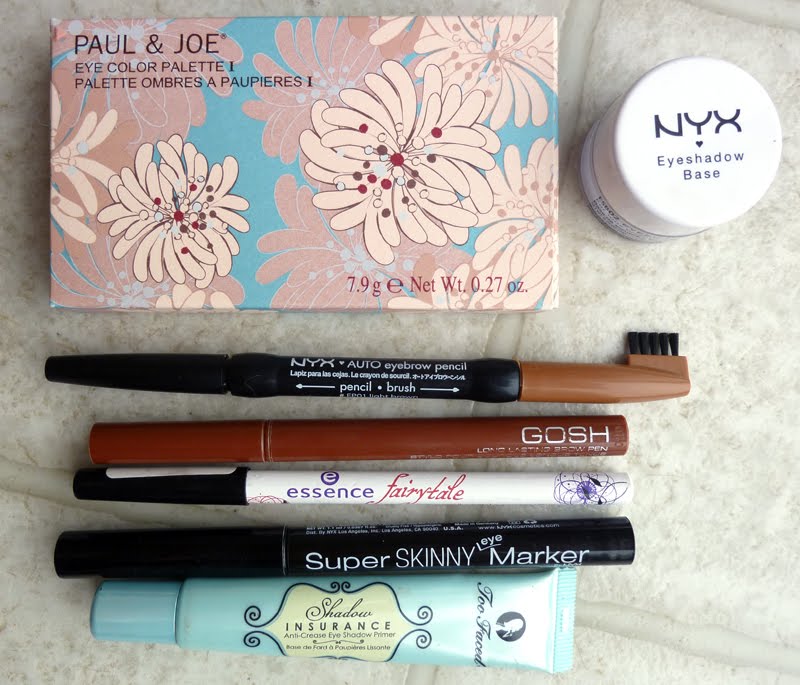
Here are the products I used:
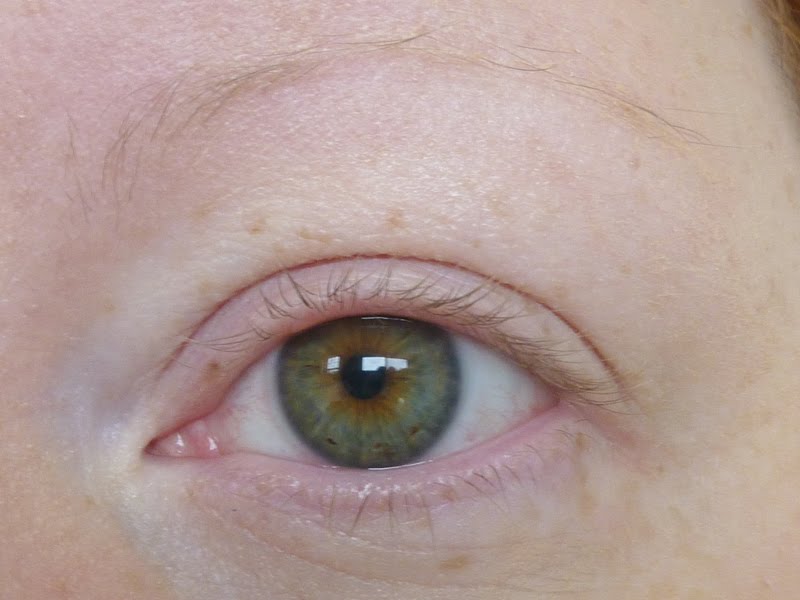
1.) Here I am without make-up. Yes, I completely lack eyebrows. Shocking, I know. That's just in my family's genes.
2.) While I am putting on my concealer, foundation and powder, I have Too Faced's Shadow Insurance already on my lids. Once I am done with the face products, the primer is set and dry. The next pressing issue is my lack of eyebrows, so I fill those in right away with Gosh's eyebrow pen and NYX brow pencil. Then I add the NYX, pearl base primer. I do this simply to even out the color of the lid.

3.) Here are the shadows I am using today. This is the Palette #1 by Paul and Joe. I've lusted after something, anything, Paul and Joe for some time now. I found a great deal on this and snatched it up!

4.) I take the lightest shade from the palette and brush it right beneath my brow. It creates a lovely, not too white, not too light highlight. Then I start placing that delicious peachy color across my lid. When I am placing color that I really want to "pop" on my lid, I use a brush, but I pat the color on, rather than sweep it across. The color is placed on in a more concentrated fashion and the colors end up being closer to what you see in the palette. A lot of times color becomes more of a wash when it is swept across the lid.
 (It's really difficult to get a clear photo with your eyes closed.)
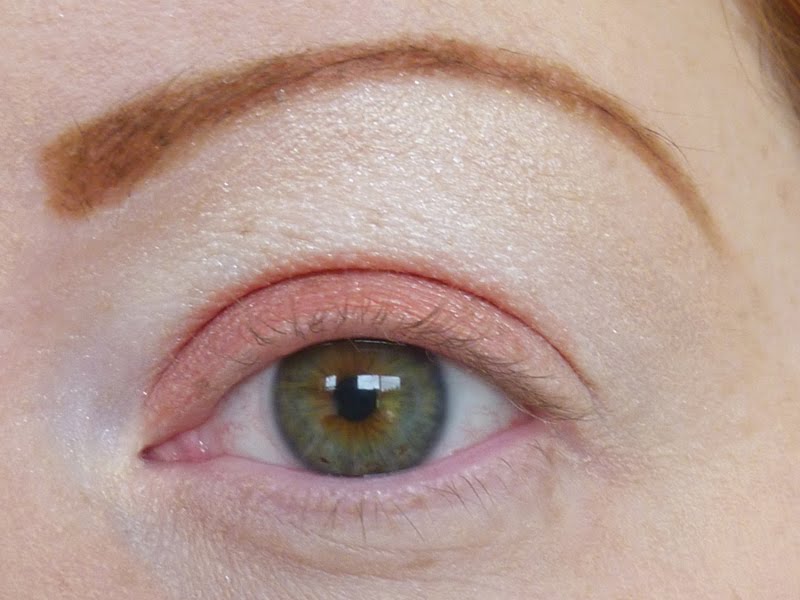
5.) Now, I start to add the dark brown. I start at the lash line and then I bring the color up and over towards my crease. Again, I am tapping the color on so I get the biggest color payoff. It's not super pretty or blended...yet.


6.) Next, I establish what I am going to do with my eyeliner. I usually grab an older one and lightly draw out how I want my liner to be (today, that was Barry M's liner pen.) I used Essence's eyeliner from the Fairytale collection that was out in the Spring.

8,) It's time to start tweaking the details. I go back over the eyeliner pen (with a new my upper lid. Then I blend out the lower line. I even take the time to blend out the eyeliner pencil on the lower lid too. I add my first couple of coats of Falsies Mascara. (I forgot to add that in my photograph of the products used.)

9.) Now I take a few seconds to make sure all of the tiny details are perfected. Make sure the liner is perfect. The shadow has to be blended flawlessly, I love to blend...you simply cannot do it enough. My quick trick for that is to run my finger across the crease and make sure the sharp lines and edges are gone. I finish it off with a couple more coats of Falsies mascara and that's it! Done and done!
 (There are some subtle differences between these last two photos.)
I hope you have enjoyed this. If you have any questions or comments, feel free to get in touch!